In previous tutorials we have explained the steps involved in creating non-player avatars and placing them on the map as well as the steps involved in creating player avatars.
This tutorial explains the steps involved in placing player avatars on the map.
The following are the steps involved:-
Adding avatars to your teams:-
1) In the main window of the editor: Move the mouse over “menu options” placed on the left bottom of the screen and click on “game”.

2) The “Game Settings Editor” opens up. On the right half of the editor is the “Team Properties Panel”. In the “Team Properties Panel”, there are checkboxes to select the teams.
Click on the checkboxes depending on the no. of teams you want in your game. You must select at least one team.
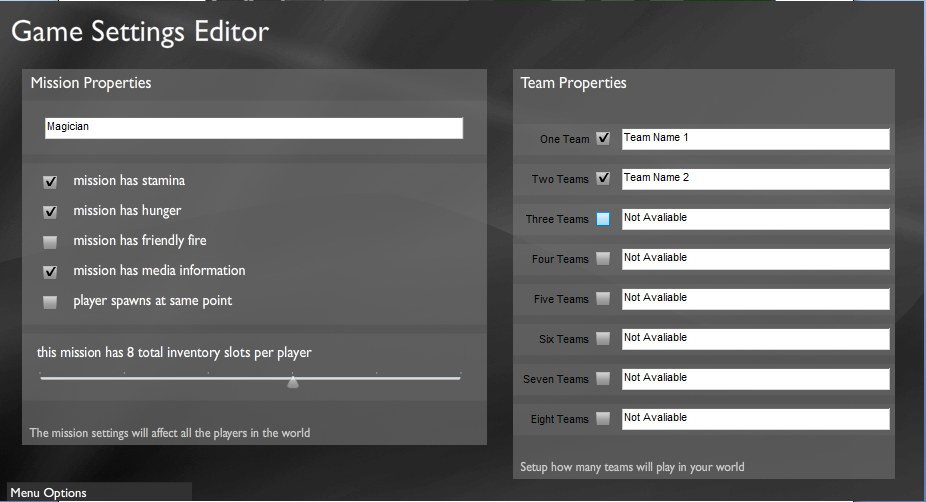
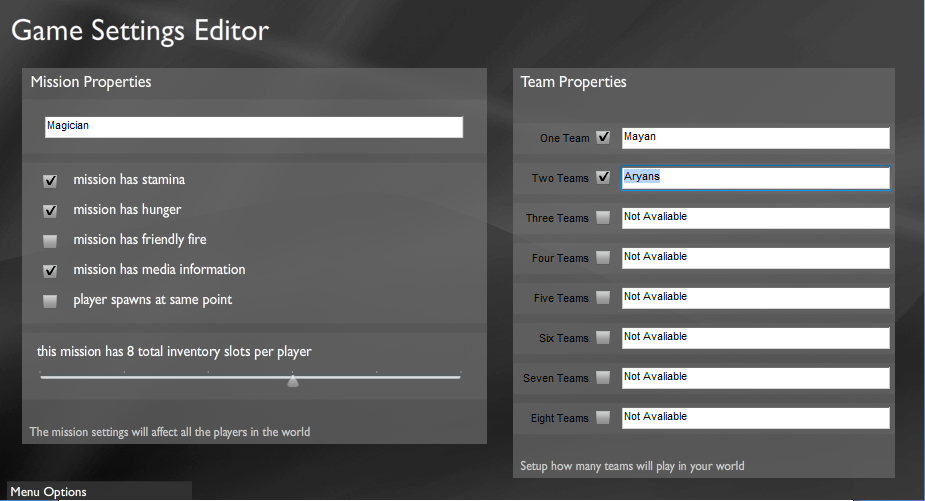
3) Once you have chosen the no. of teams that you want in your game, you should fill up the team names.
Fill up the names you want to give your teams in the textboxes next to the team checkboxes.
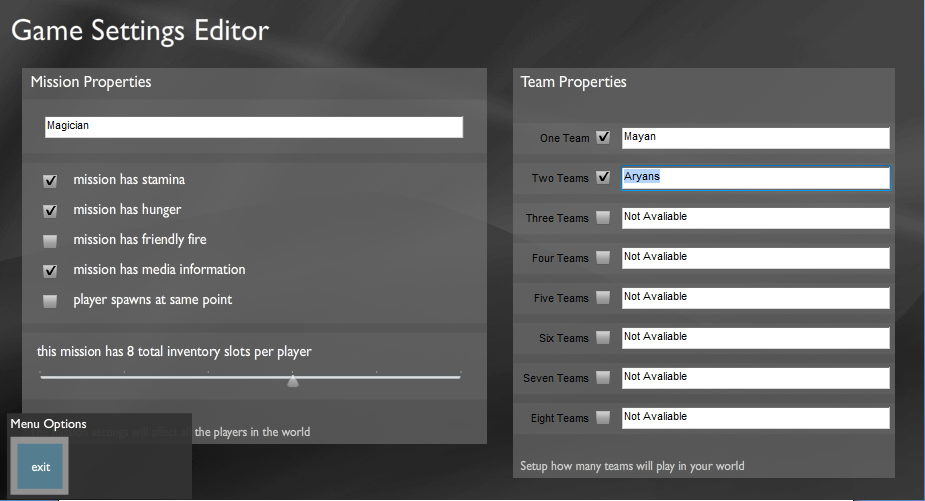
4) Once you have selected the teams, go to “Menu Options” at the left bottom of the screen and click on “exit”.
5) Now you return back to the main window of the editor.
6) The next step is to add the avatars to your teams.
In order to do that, go to “Menu Options” on the left bottom of your screen and click on “pool”.

7) You reach the “AVATAR POOL SELECTION” screen. Here you need to add the avatars to the teams you have already created.
This screen has the panels for all the teams that you have created.
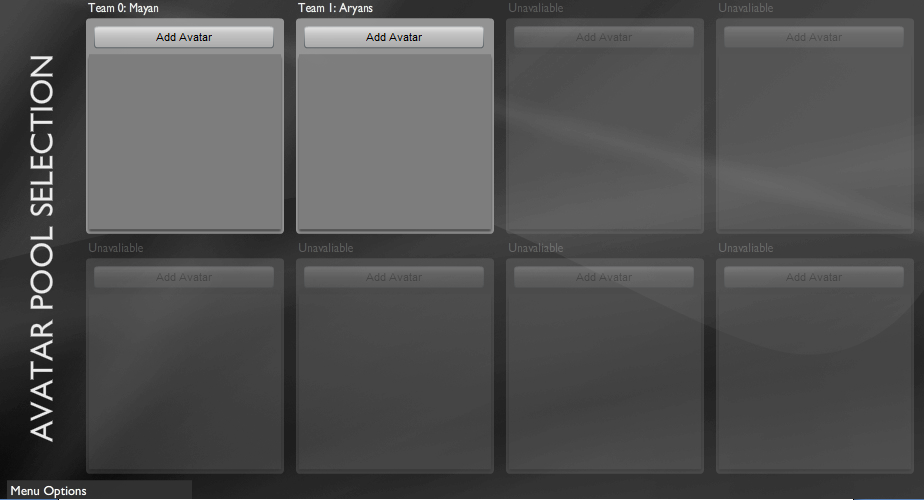
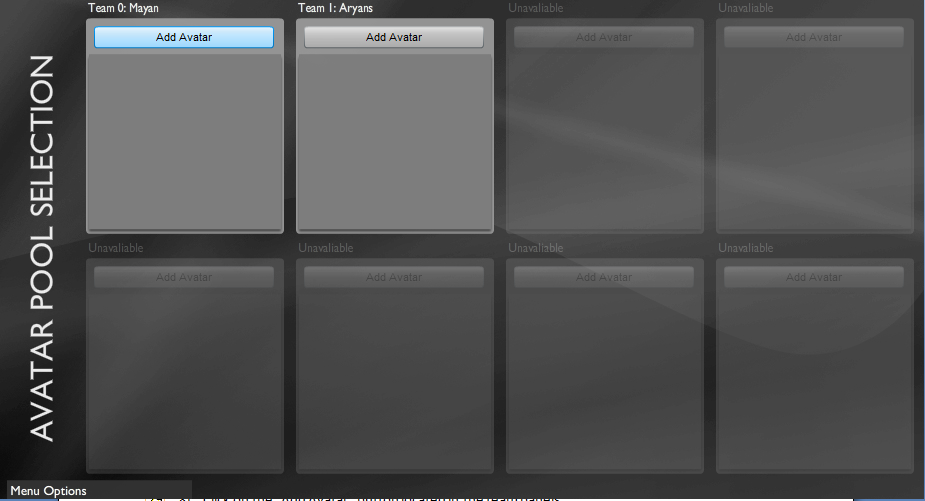
8) Click on the “Add Avatar” button located in the team panels.
9) A screen showing all your avatars opens up.
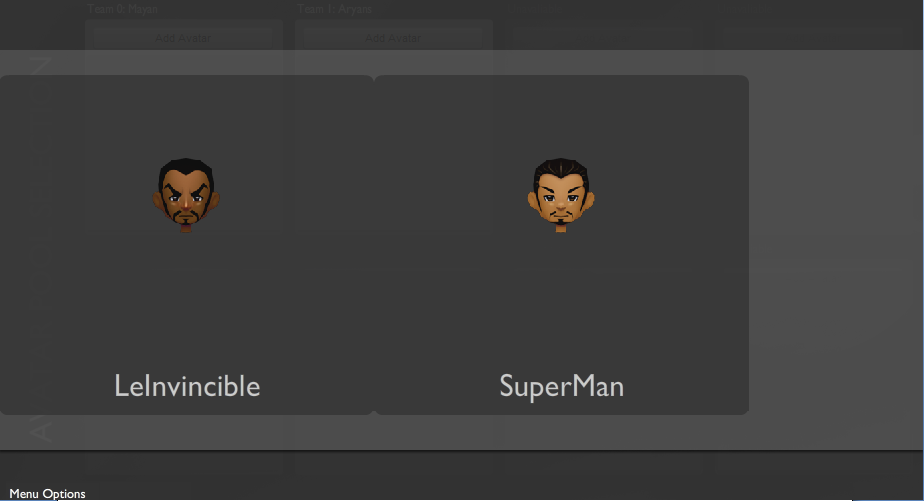
10) As you move your mouse over the avatar, it gets lit.
Left click on the avatar to select it.
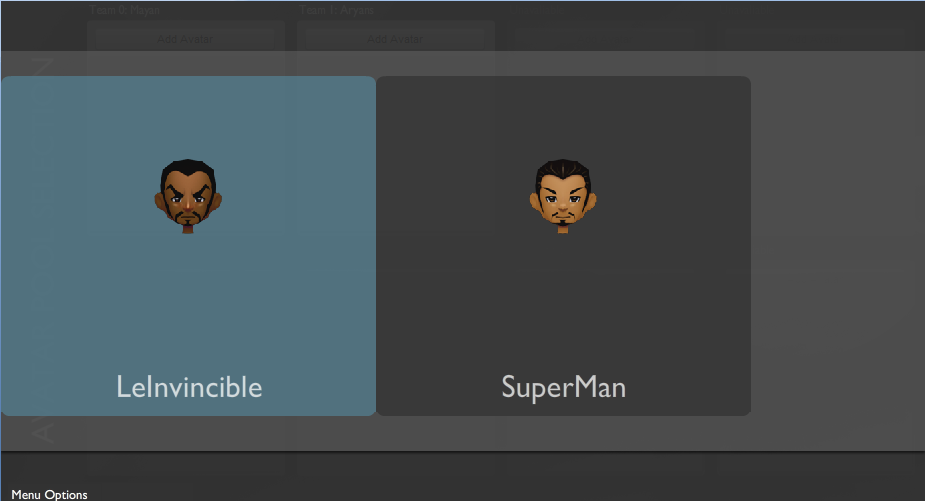
11) The avatar gets added to your team.
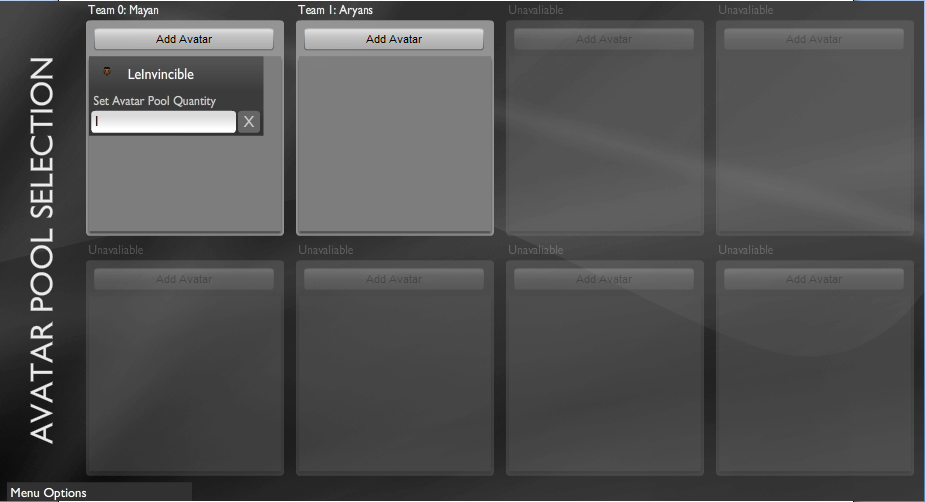
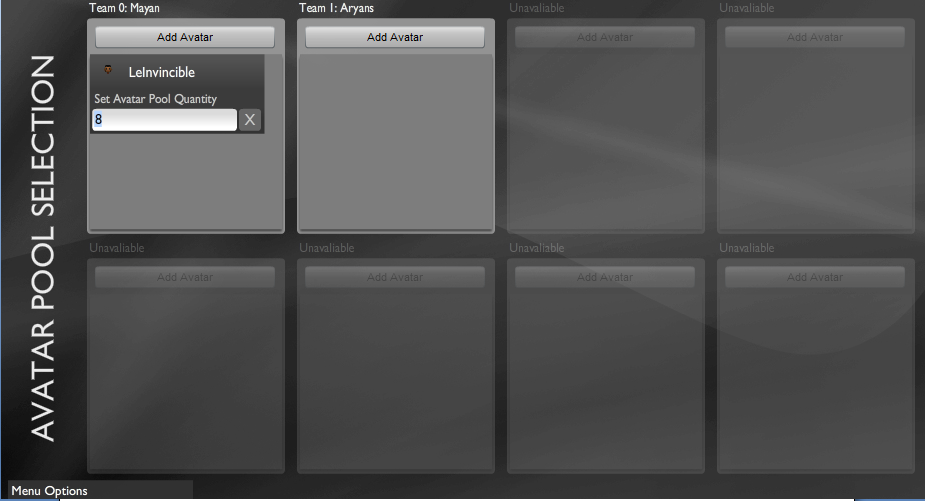
12) The “Set Avatar Pool Quantity” textbox allows you to specify the number of avatars that you want into your team.
For instance if you want 8 LeInvincible avatars in your team, you should specify 8 inside this textbox.
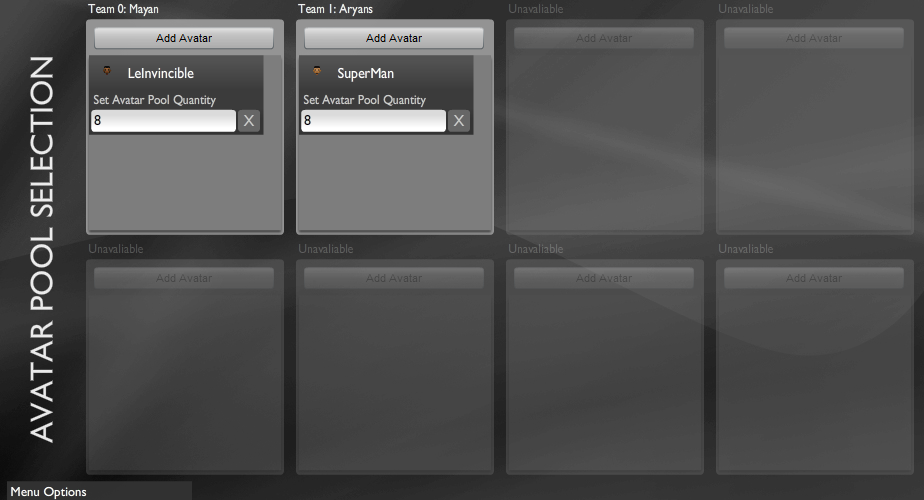
13) Similarly add avatars to all your teams.
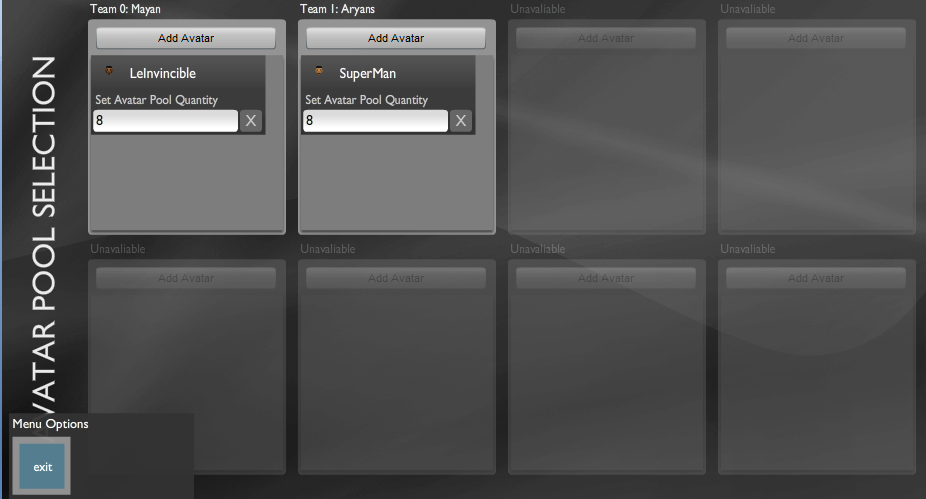
14) Once you have added avatars to all your teams, go to “Menu Options” and click on “exit”.
Now that you have added avatars to your teams, you need to create triggers to place the teams on the map.
Creating team triggers and placing them on the map:-
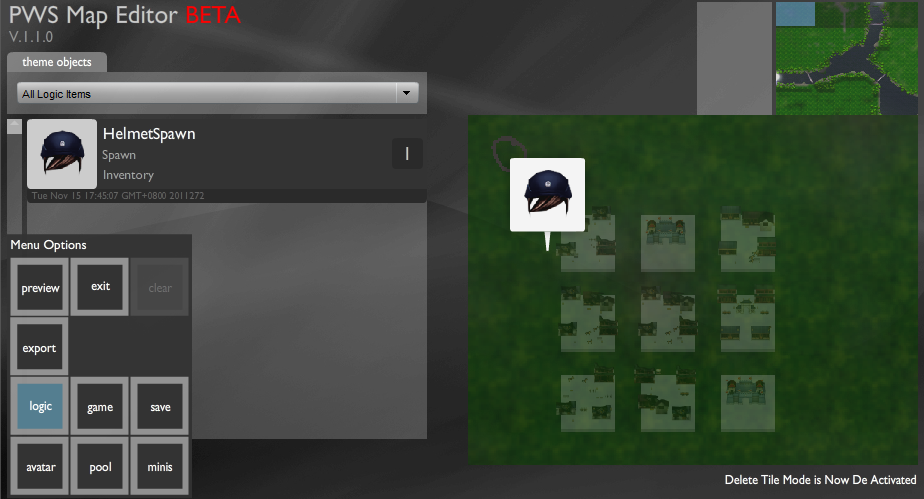
1) Now you return to the main map, go to “Menu Options” on the left bottom of the screen and click on “logic”.
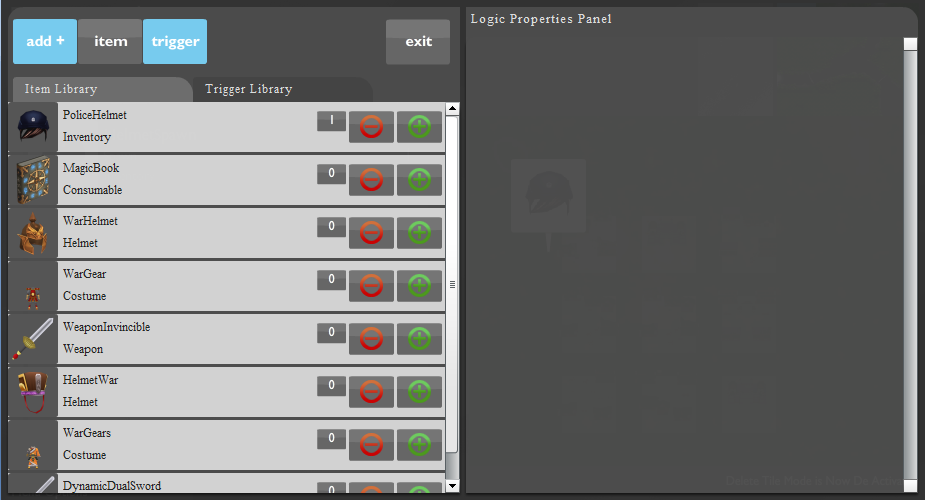
2) On the logic properties panel, click on “add+”.
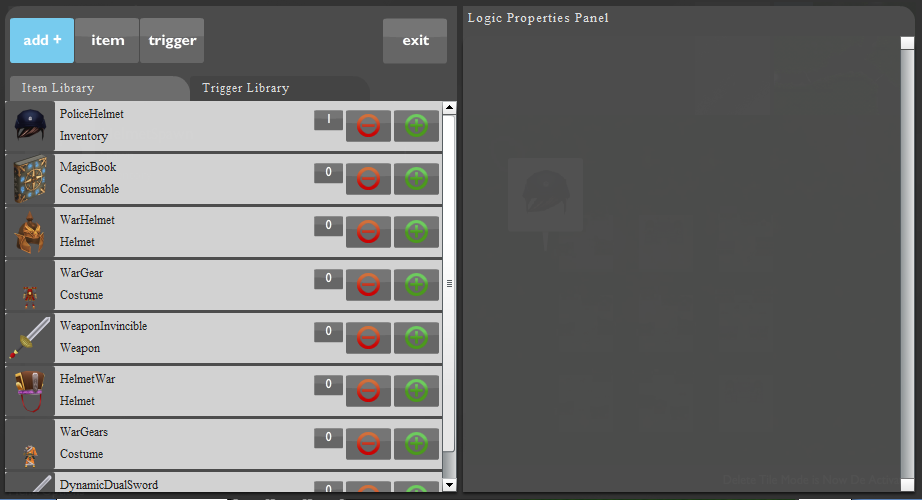
3) Click on the trigger button.
4) Click on the “NewTrigger”.
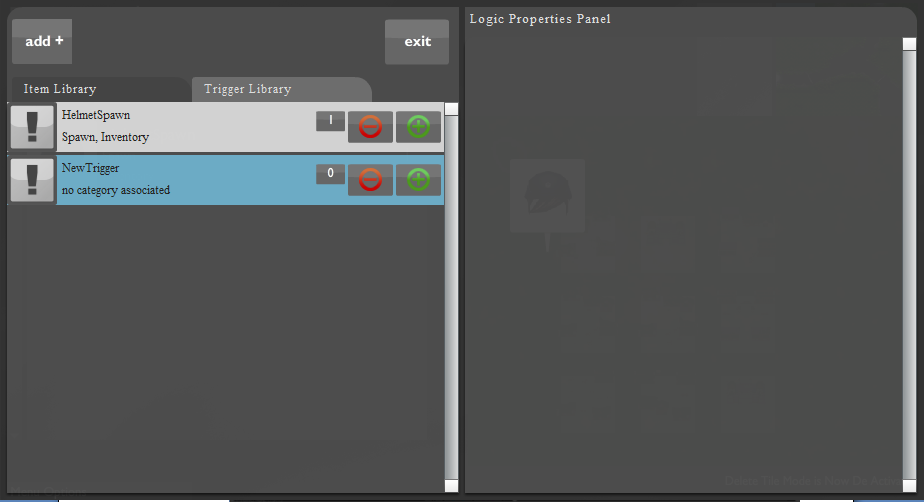
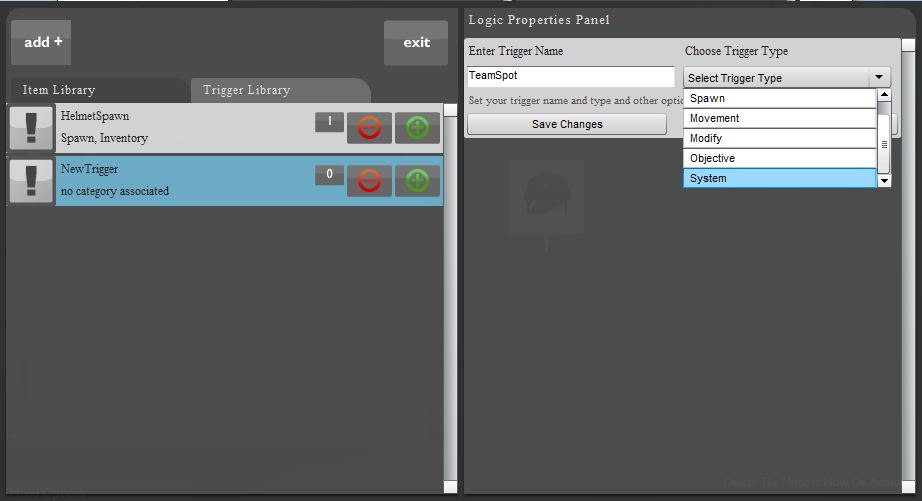
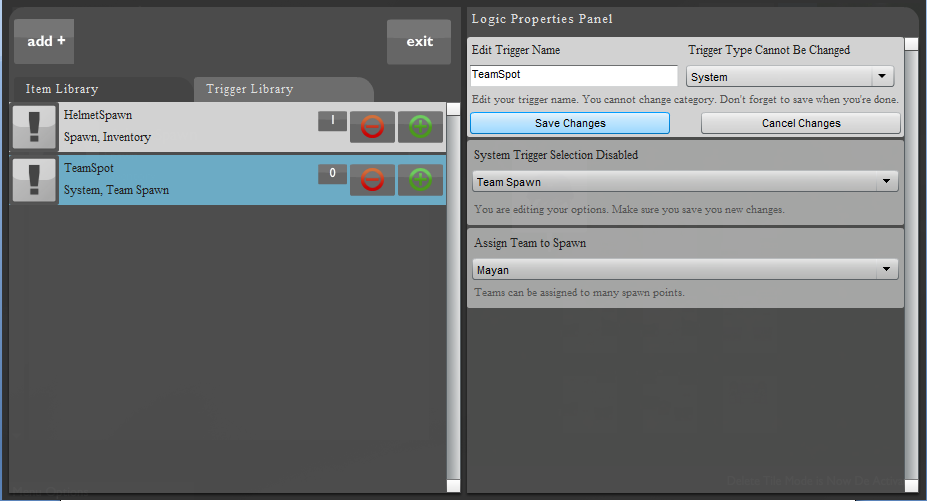
5) The “Logic Properties Panel” fills up.
Enter the trigger name and choose the trigger type as “System”.
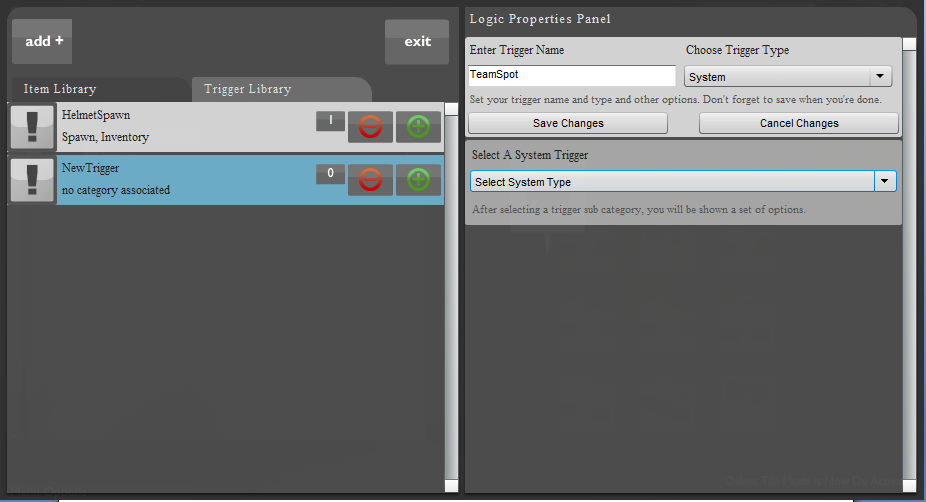
6) A panel named “Select a System Trigger” opens up.
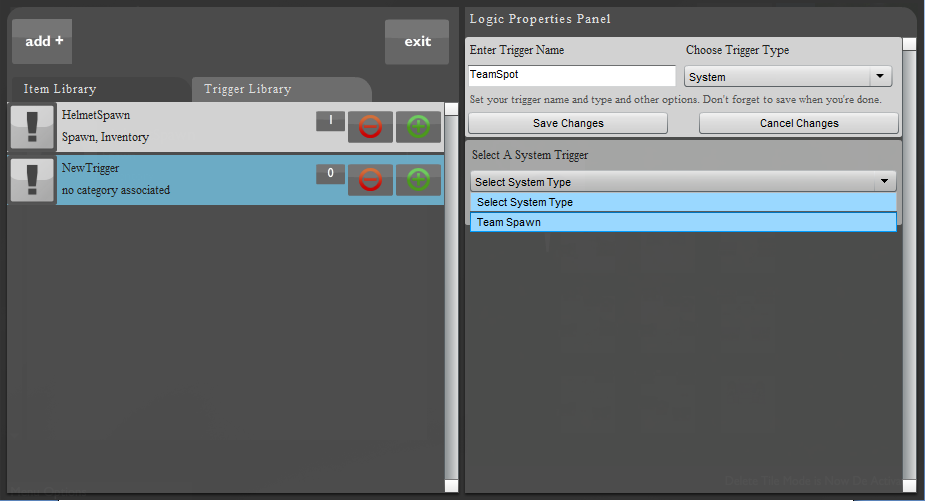
7) Select the system type as “Team Spawn”.
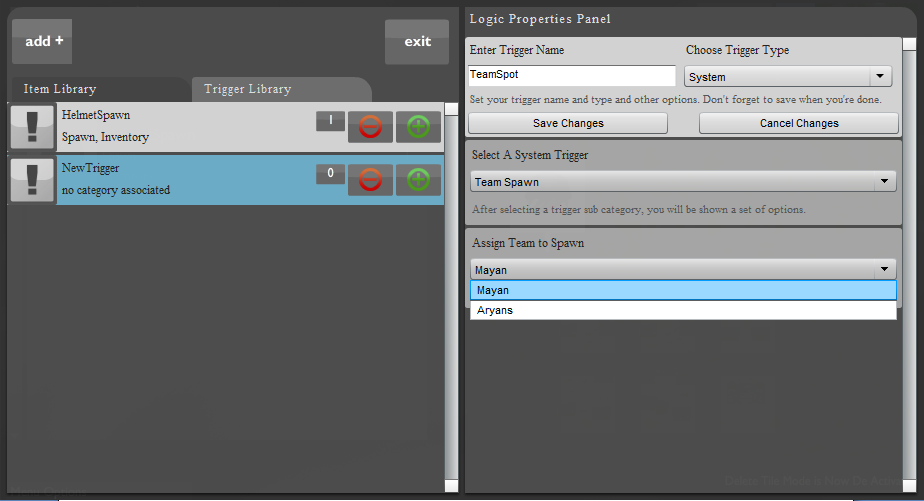
8) The panel named “Assign Team to Spawn” opens up.
Use the drop down menu to select a team for your trigger.
9) You have updated all the settings for your team trigger.
After this, go to the top of the Logic Properties Panel and click on “Save Changes” to save your trigger.
10) After you have saved your trigger, click on exit to return to the map creation screen.
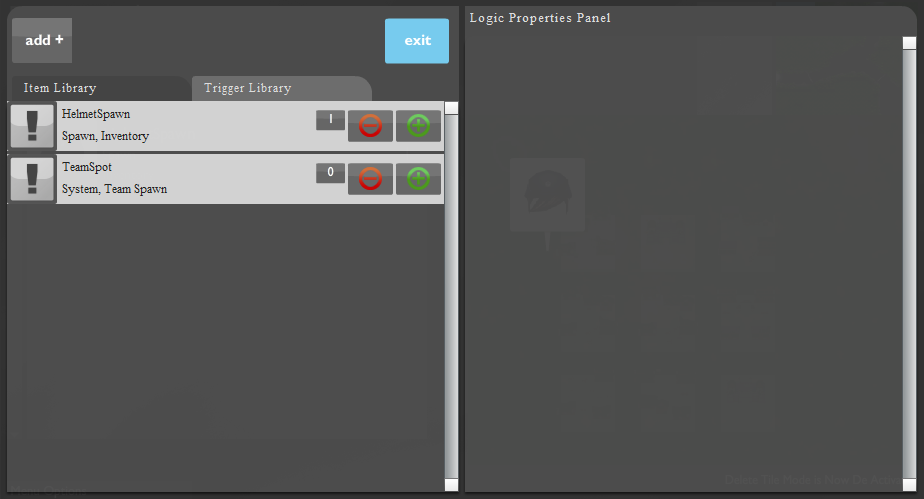
Now you need to place your team trigger on the map.
Placing your team trigger on the map:-
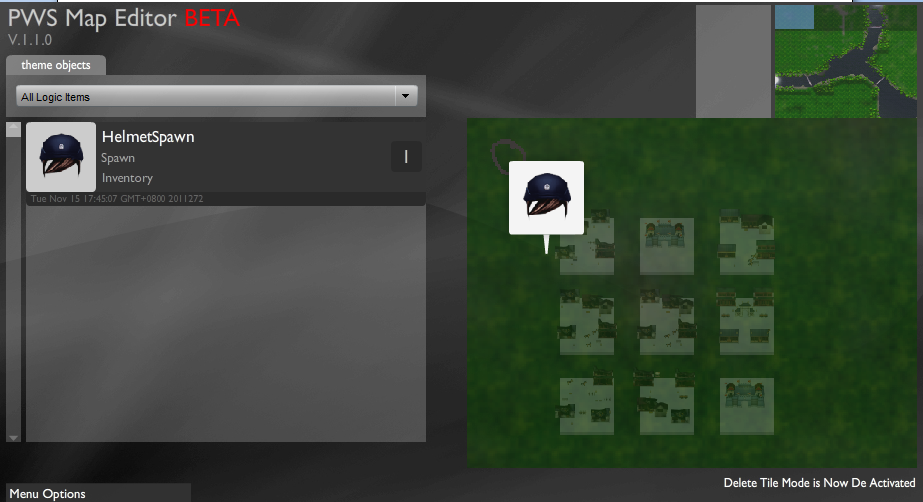
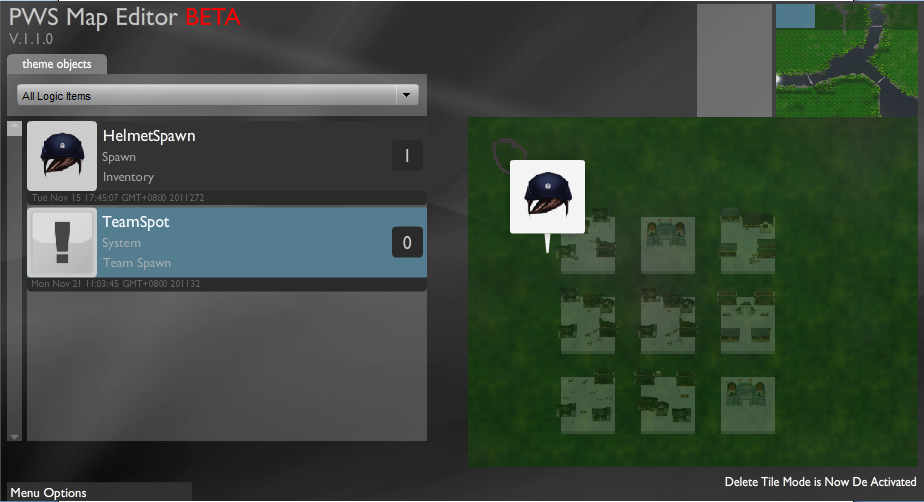
1) You now return to the main map, from the drop down menu in the palette, select “All Themed Tiles”.
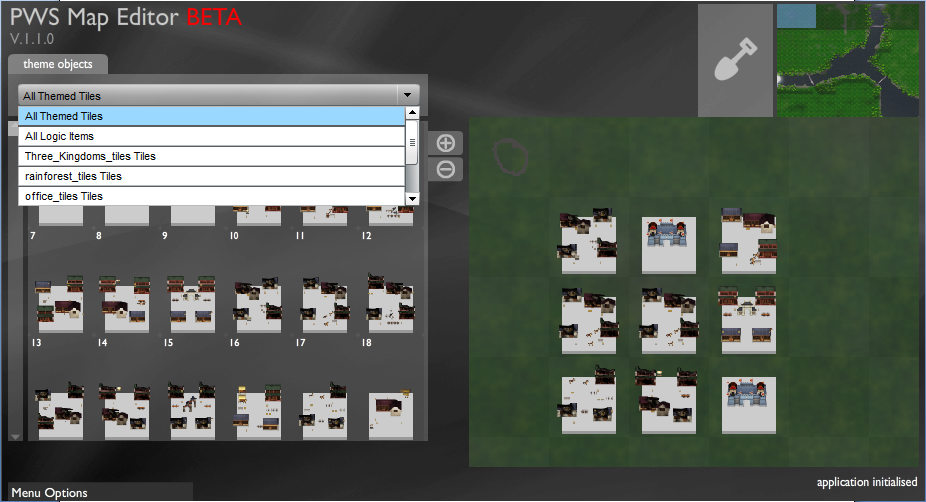
2) From the same drop down menu used in step 1 select “All Logic Items”.
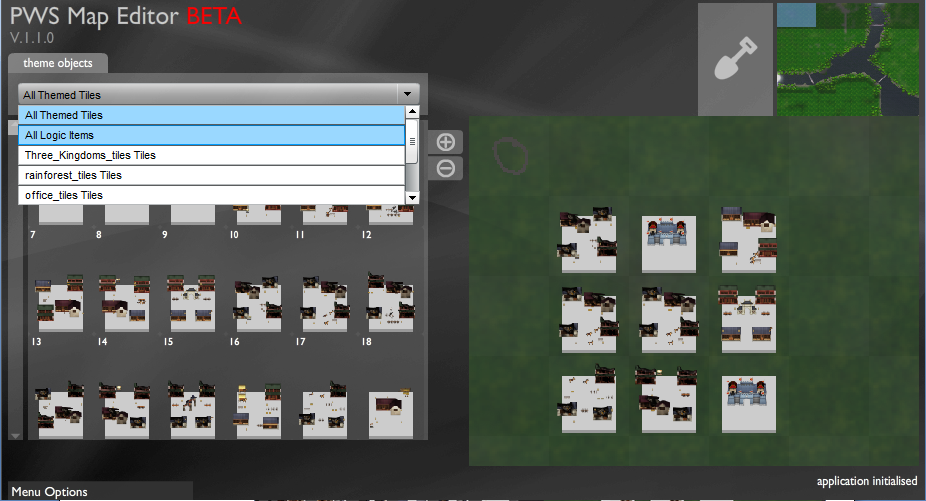
3) The team spawn trigger now shows in the palette. Click on it.
4) Now, click on the map exactly on the spot where you want to place the team trigger.
Your team trigger will be displayed on the map.
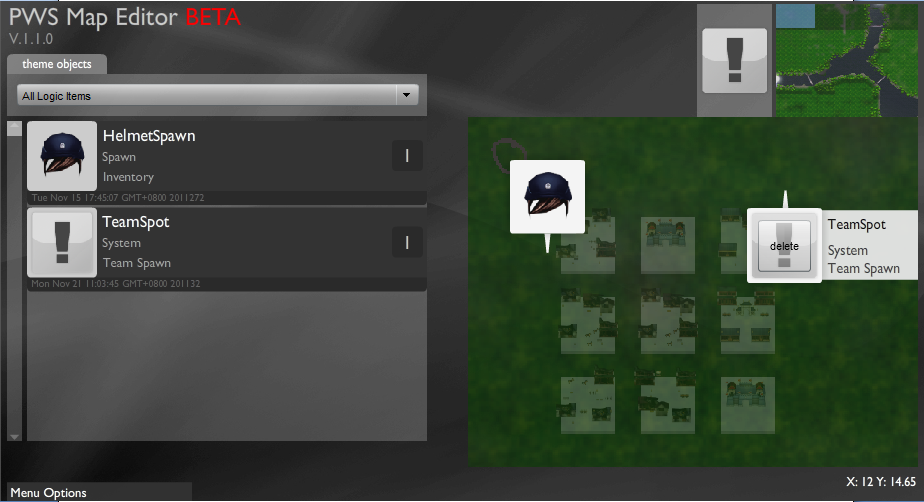
5) Your team and its corresponding avatars will be generated exactly on the spot where you placed the team trigger.
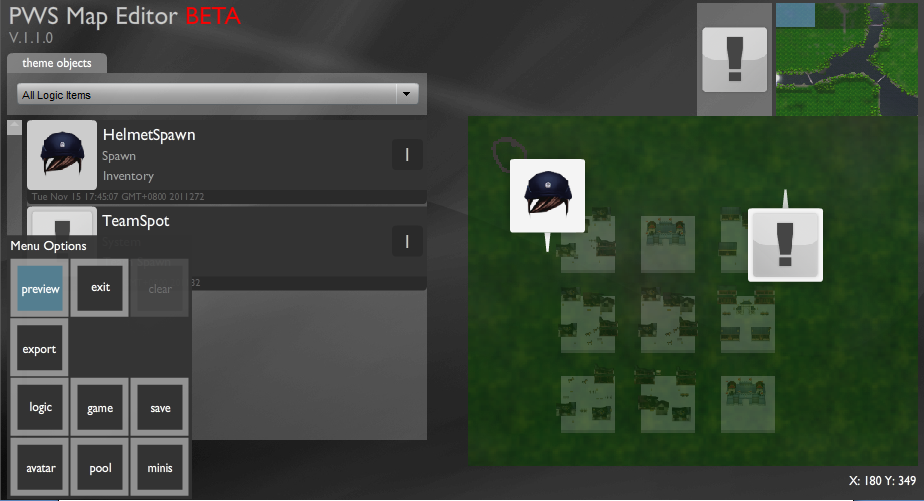
Go to “Menu Options” on the left bottom of the screen and click on “preview” to view your avatars.
This tutorial explains the steps involved in placing player avatars on the map.
The following are the steps involved:-
Adding avatars to your teams:-
1) In the main window of the editor: Move the mouse over “menu options” placed on the left bottom of the screen and click on “game”.
2) The “Game Settings Editor” opens up. On the right half of the editor is the “Team Properties Panel”. In the “Team Properties Panel”, there are checkboxes to select the teams.
Click on the checkboxes depending on the no. of teams you want in your game. You must select at least one team.
3) Once you have chosen the no. of teams that you want in your game, you should fill up the team names.
Fill up the names you want to give your teams in the textboxes next to the team checkboxes.
4) Once you have selected the teams, go to “Menu Options” at the left bottom of the screen and click on “exit”.
5) Now you return back to the main window of the editor.
6) The next step is to add the avatars to your teams.
In order to do that, go to “Menu Options” on the left bottom of your screen and click on “pool”.
7) You reach the “AVATAR POOL SELECTION” screen. Here you need to add the avatars to the teams you have already created.
This screen has the panels for all the teams that you have created.
8) Click on the “Add Avatar” button located in the team panels.
9) A screen showing all your avatars opens up.
10) As you move your mouse over the avatar, it gets lit.
Left click on the avatar to select it.
11) The avatar gets added to your team.
12) The “Set Avatar Pool Quantity” textbox allows you to specify the number of avatars that you want into your team.
For instance if you want 8 LeInvincible avatars in your team, you should specify 8 inside this textbox.
13) Similarly add avatars to all your teams.
14) Once you have added avatars to all your teams, go to “Menu Options” and click on “exit”.
Now that you have added avatars to your teams, you need to create triggers to place the teams on the map.
Creating team triggers and placing them on the map:-
1) Now you return to the main map, go to “Menu Options” on the left bottom of the screen and click on “logic”.
2) On the logic properties panel, click on “add+”.
3) Click on the trigger button.
4) Click on the “NewTrigger”.
5) The “Logic Properties Panel” fills up.
Enter the trigger name and choose the trigger type as “System”.
6) A panel named “Select a System Trigger” opens up.
7) Select the system type as “Team Spawn”.
8) The panel named “Assign Team to Spawn” opens up.
Use the drop down menu to select a team for your trigger.
9) You have updated all the settings for your team trigger.
After this, go to the top of the Logic Properties Panel and click on “Save Changes” to save your trigger.
10) After you have saved your trigger, click on exit to return to the map creation screen.
Now you need to place your team trigger on the map.
Placing your team trigger on the map:-
1) You now return to the main map, from the drop down menu in the palette, select “All Themed Tiles”.
2) From the same drop down menu used in step 1 select “All Logic Items”.
3) The team spawn trigger now shows in the palette. Click on it.
4) Now, click on the map exactly on the spot where you want to place the team trigger.
Your team trigger will be displayed on the map.
5) Your team and its corresponding avatars will be generated exactly on the spot where you placed the team trigger.
Go to “Menu Options” on the left bottom of the screen and click on “preview” to view your avatars.
No comments:
Post a Comment